A video storyboard is the cheapest insurance you can buy on a video project. It is a frame-by-frame sketch of what the camera sees, scene by scene, before anyone turns up to shoot. Get it right and you avoid the most expensive mistakes in production — reshoots, wasted crew time and a final cut that does not match what the client imagined. This guide walks through how we build a video storyboard, step by step, and why it pays for itself.
What a video storyboard actually is
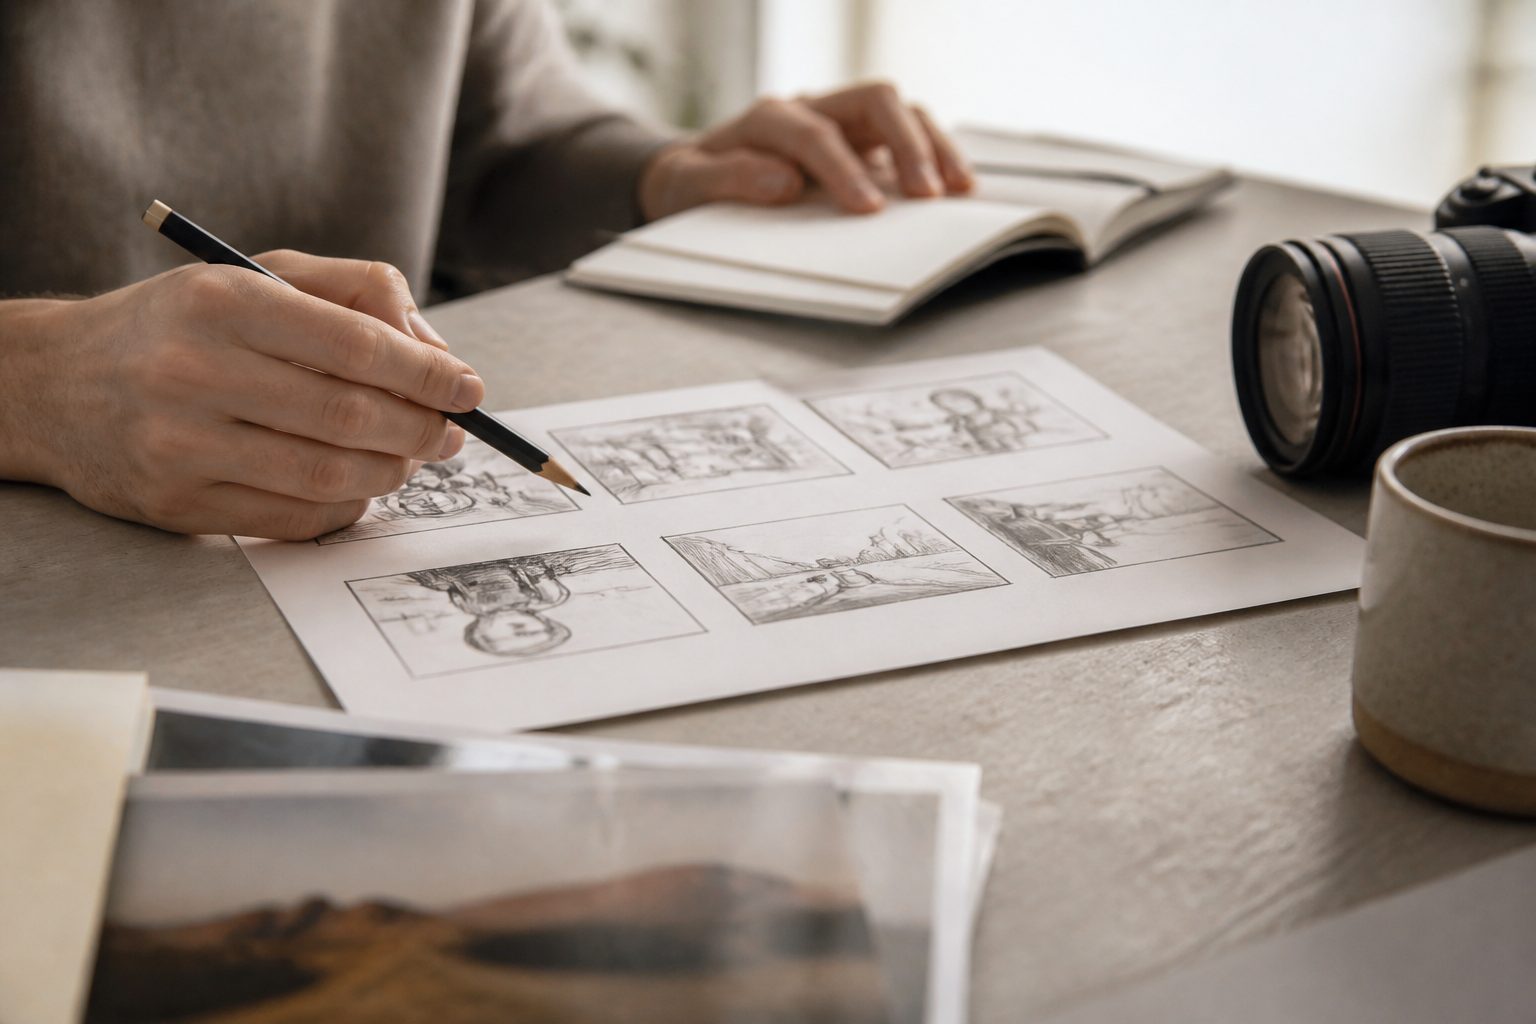
At its simplest, a video storyboard is a sequence of panels. Each panel shows one shot: a rough drawing of the frame, a note on what happens, the dialogue or voiceover, and the camera movement. Strung together, the panels are the visual blueprint for the whole video.
It sits between two other documents. The script tells you what is said; the shot list tells you what to capture. The storyboard is the bridge — it shows you how the script looks on screen, frame by frame, so everyone agrees before money is spent.
Why bother storyboarding at all?
Plenty of small videos get made without one. But for anything with a client sign-off, a crew, or a tight budget, a video storyboard earns its keep:
- It aligns everyone early. The founder, the marketer and the director all see the same vision before the shoot, not after.
- It controls cost. Knowing exactly which shots you need means you book the right amount of crew time and locations — no paying for a half-day you did not use, no scrambling to re-book talent.
- It catches problems on paper. A scene that does not work is free to fix in a storyboard and very expensive to fix on set.
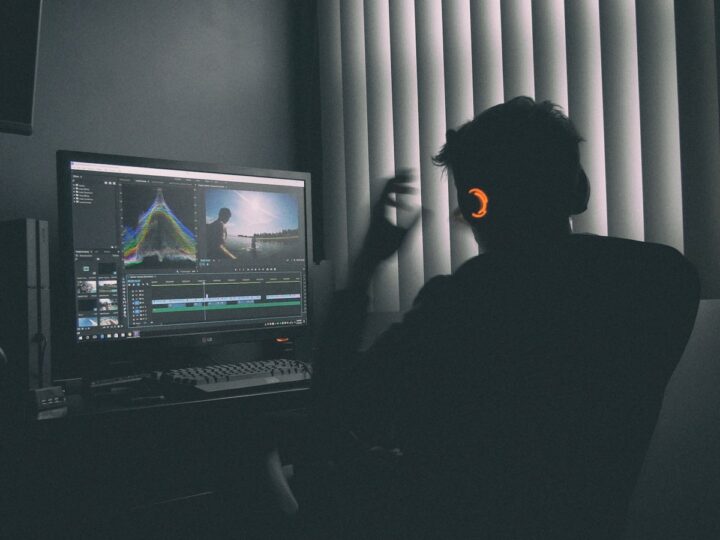
- It speeds up the edit. The editor already knows the intended sequence and pacing.
For Singapore SMEs watching every dollar, that cost control is the headline benefit. A few hours of planning routinely saves thousands of SGD on the shoot.
How to create a video storyboard, step by step
1. Start from the script and the goal
Before you draw anything, be clear on what the video must achieve and who it is for. Break the script into scenes. Each scene is a location or a beat in the story.
2. Break each scene into shots
Decide how many shots each scene needs and what each one shows — a wide establishing shot, a close-up on the product, a reaction. One panel equals one shot.
3. Sketch the frames
You do not need to be an artist. Stick figures and boxes are fine. What matters is the composition: where subjects sit in the frame, what is foreground and background, and how tight the shot is.
4. Add the technical notes
Under each panel, note the essentials:
- Shot type — wide, medium, close-up.
- Camera movement — static, pan, tilt, push-in, handheld.
- Dialogue or voiceover for that frame.
- Approximate duration in seconds.
5. Time the whole thing
Add up the durations. If your storyboard runs to 90 seconds but the brief is a 30-second ad, you know now — on paper — and can cut, not at the edit when it is too late.
Tools: from paper to software
The right tool is whatever gets the board done fastest. Options range from simplest to most polished:
- Pen and paper — perfectly valid, and fastest for a first pass.
- Slides or a spreadsheet — one row or slide per shot, with a sketch or reference photo pasted in.
- Dedicated storyboard apps — these give you templates, reusable characters and easy reordering.
For client-facing work we often use reference photos or stills instead of drawings, because a real image communicates the look more clearly than a sketch. When we produce videography for brands, the storyboard is part of pre-production we agree on before a single camera comes out of the bag — and you can see how that planning translates to the screen in our recent work.
Common storyboarding mistakes to avoid
- Over-detailing. The board is a guide, not a contract. Leave room for better ideas on set.
- Ignoring timing. A board with no durations cannot tell you if your video is the right length.
- Forgetting the platform. A vertical TikTok and a widescreen YouTube ad need different framing — board for the format you are publishing to.
- Skipping the b-roll. Plan your cutaways and supporting shots, not just the hero moments, or the edit will feel thin.
- Treating it as fixed. A storyboard is a plan, not a prison. If the location offers a better angle on the day, take it — the board exists to keep you organised, not to override good instincts.
Sharing the storyboard with your team
A storyboard is only useful if everyone reads it the same way. Before the shoot, walk the whole crew and any talent through it together so questions surface early, not on set when the clock is running. Number every panel and match those numbers to your shot list, so on the day you can simply call “shot 14” and the team knows exactly what to set up. For client work, a quick approval on the board in writing protects everyone — it is the moment the brief becomes concrete and signed off, before a single dollar of production budget is spent.
Frequently asked questions
Do I need a storyboard for a simple talking-head video?
Not always. For a single locked-off interview, a shot list and a script are usually enough. The storyboard earns its keep when there is movement, multiple locations, b-roll, or a narrative that a client needs to approve before the shoot.
Can I make a video storyboard if I can’t draw?
Yes. Boxes, stick figures and arrows communicate composition perfectly well, and reference photos work even better. The goal is clarity about what each shot contains, not artistic quality.
How long does storyboarding take?
For a short brand video, a rough board might take a couple of hours; a polished, client-ready one a day or so. It is time that comes straight back to you in a faster, cheaper, smoother shoot.
Planning a video? Tell us about your project and we will storyboard it properly before we shoot a single frame.