A brand photoshoot is the day you create the images your business runs on for the next year — the team photos, the product and service shots, the lifestyle scenes that fill your website, decks, ads and social feed. Done well, one organised brand photoshoot gives you a library you’ll use for months. Done badly, you get a folder of pretty pictures that don’t fit anything. This step-by-step guide is how we actually plan one for Singapore businesses.
The secret isn’t the camera — it’s the planning. Most shoots are won or lost before anyone presses the shutter.
Step 1: Plan your brand photoshoot around where images will be used
Before moodboards or props, list the places these photos need to live. That list dictates everything — formats, quantity, and style:
- Website — homepage hero, about page, service pages, team grid. Often wide and horizontal.
- Social — square and 4:5 for the feed, vertical 9:16 for Reels, Stories and TikTok.
- Ads — clean, attention-grabbing shots with room for text overlays.
- Sales and decks — professional team and workspace shots that build trust with clients.
- Profiles and PR — headshots for LinkedIn, media and bios.
Work backwards from this. A brand photoshoot planned around real outputs gives you images you’ll actually use, in the right shapes, instead of a beautiful set that doesn’t fit your homepage.
Step 2: Build a moodboard and lock your style
Pull 10–15 reference images you love — competitors, overseas brands, anything — and note what you like in each: the lighting, the colours, the mood, the angle. It’s far faster to point at a look than to describe it, and it keeps you, your team and the photographer aligned.
Tie the style to your brand. Bright and airy, moody and premium, candid and human — pick a direction and commit. Lock your brand colours so backgrounds, wardrobe and props don’t clash. This moodboard becomes the single reference everyone checks against on the day.
Step 3: Write the shot list
The shot list is the backbone of the day. Without it, you’ll forget the one shot you actually needed. Group it by setup so the day flows efficiently:
Typical groups for a brand photoshoot
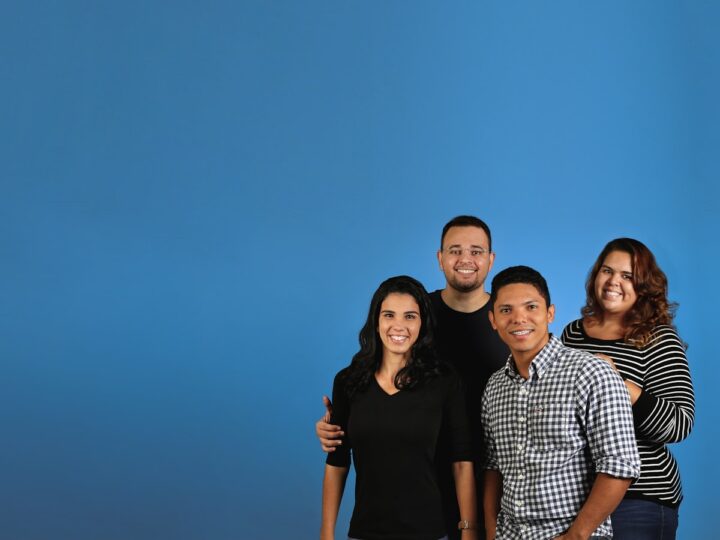
- People — individual headshots, the team together, candids of people working.
- Product or service — what you sell, shown clearly and in use.
- Environment — your space, your process, the details that make you you.
- Lifestyle — staged but natural scenes of customers or staff in context.
- Brand details — packaging, signage, textures, anything for backgrounds and fillers.
Note quantities and priorities. “Must-haves” get shot first; “nice-to-haves” fill any spare time. This keeps the day on schedule and the budget predictable.
Step 4: Sort location, wardrobe and props
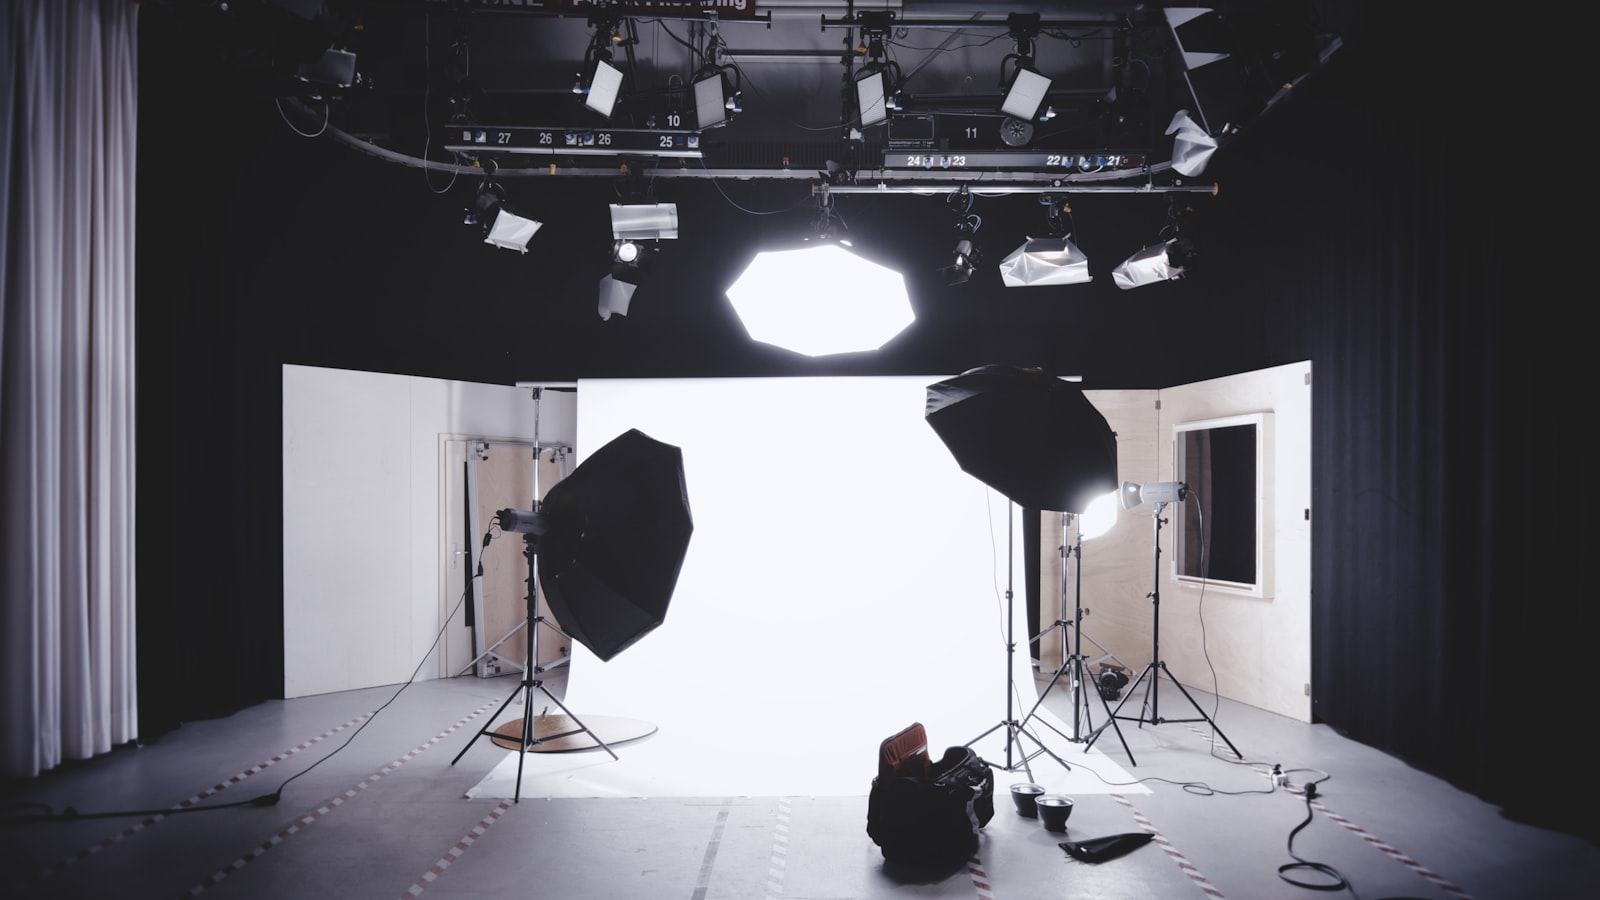
Decide where you’re shooting — your own office or shopfront, a rented studio, or an on-location spot. In Singapore, studio time, certain heritage areas and some public spaces need booking and sometimes permits, so confirm early. Your own space is often the most authentic and the cheapest.
For wardrobe, brief anyone appearing on camera: what to wear, what colours work with the brand, what to avoid (busy patterns, logos that clash). For props, agree who sources them and keep them on-brand. Sorting this in advance is the difference between a smooth day and chaos at 9am.
Step 5: Plan the schedule and capture video too
Build a realistic run sheet — which setup at what time, who’s needed when, and buffer for changeovers and lunch. People shots usually go first while everyone’s fresh. A tight schedule means you finish your must-haves with time to spare.
While you’re set up and lit, capture short-form video in the same session. A few clips of your team, your process or your product give you Reels, TikTok and ad content without a second booking. We plan photo and video together as a single content day; our photography and content team shoots both so you leave with a full set, and many brands fold short-form video into the same plan.
Step 6: Plan the edit and how you’ll store it
The shoot is half the job; the edit makes it usable. Agree upfront on the editing style (so it matches the moodboard), how many final images you’ll receive, and the formats and crops you need for each platform. Get a consistent set, not a random grab-bag.
Then store it properly. A shared, organised folder — by setup, by platform crop — means your team can actually find and use the images all year. The whole point of batching a brand photoshoot is to stop scrambling for content every week.
Frequently asked questions
How long does a brand photoshoot take?
Most run a half to full day, depending on how many setups, people and products are involved. A focused shoot with a tight shot list can cover a lot in a half-day; a full brand library with team, product and lifestyle usually needs a full day.
How much does a brand photoshoot cost in Singapore?
It varies widely with scope, so treat any figure as a range rather than a quote. The main drivers are the number of setups, whether you need a studio, stylist or models, the volume of final images, and whether video is included. Batching everything into one day is the most cost-effective approach.
Where should I do my brand photoshoot?
Your own space is often best — it’s authentic, free and on-brand. A rented studio gives a clean, controlled look for product and headshots. On-location adds character but needs booking and sometimes permits in Singapore. Many brands combine their own space with a studio session.
How often should I do a brand photoshoot?
Most growing businesses refresh their library once or twice a year, with smaller top-up shoots when they launch something new. Batching a big shoot annually, then supplementing as needed, keeps content fresh without constant booking.
Ready to plan your shoot? Tell us about your brand and we’ll plan a brand photoshoot that fits your channels, your team and your budget.