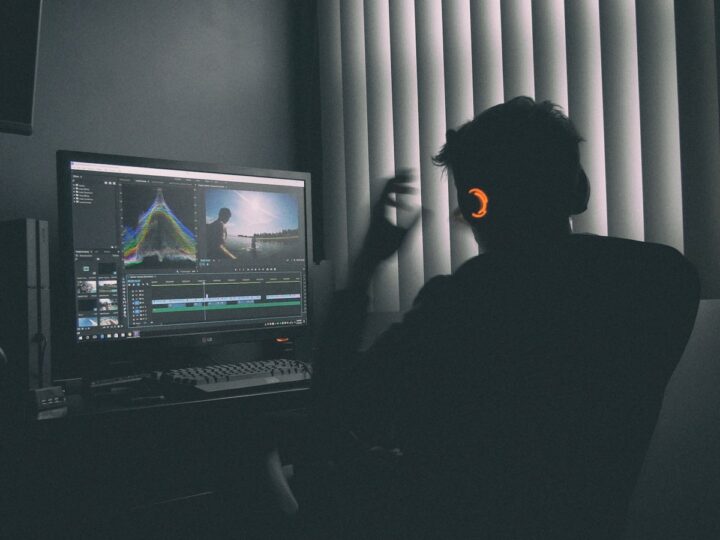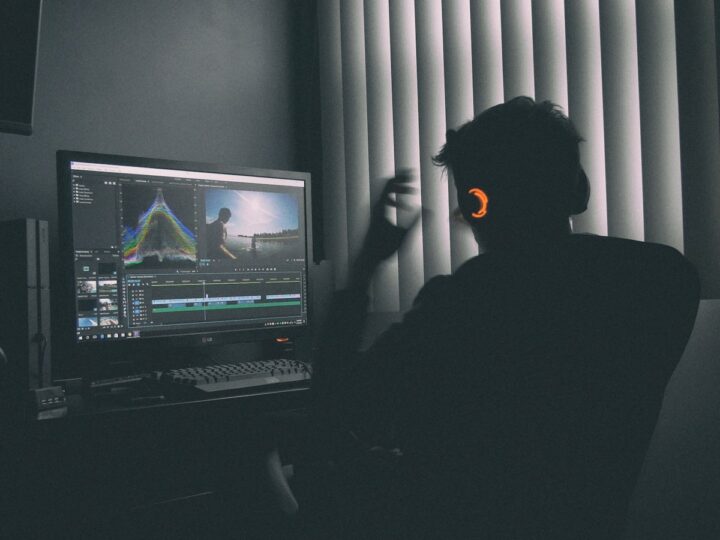
The gap between content that looks amateur and content that looks professional is usually not the camera — it’s the video editing. A clean edit can lift average footage, and a sloppy edit can ruin great footage. These are the tips we lean on most when cutting brand content, written so an in-house marketer can apply them without years of training.
Get the pacing right first
Pacing is the single biggest thing that separates professional video editing from a string of clips. Most rough cuts are too slow — they linger on shots after the point has landed. Tighten ruthlessly.
- Cut on the action. Trim the dead air before someone speaks and after they finish. Energy comes from removing the gaps.
- Vary your shot lengths. A rhythm of longer and shorter shots feels alive; identical-length clips feel mechanical.
- Front-load the hook. Especially on social, the first three seconds decide whether anyone watches the rest.
A good test: watch your edit at normal speed and note every moment your attention drifts. Those are your cut points.
Fix the audio — it matters more than the video
Viewers tolerate imperfect visuals but abandon bad audio almost instantly. Clean sound is the fastest credibility win in any edit.
Balance your levels
Keep dialogue consistent throughout — nothing screams amateur like a clip where one speaker is loud and the next is faint. Most editing tools have a normalisation feature; use it as a starting point, then adjust by ear.
Use music with intention
Music sets the mood, but it should sit under the voice, not fight it. Duck the music down whenever someone talks, and choose tracks that match the energy of the cut. Always use properly licensed music to avoid takedowns.
Colour: consistency beats flashy
You don’t need a cinematic grade to look professional — you need consistency. Shots from the same scene should match in brightness and colour temperature so the edit feels like one piece rather than a patchwork.
Start with a simple correction pass: balance exposure and white balance across clips so skin tones look natural. Only then consider a subtle grade for mood. Overcooked, heavily-filtered colour usually looks worse than a clean, neutral image. When in doubt, restraint reads as professional.
Add captions — most people watch on mute
On Singapore commutes and in offices, a large share of social video is watched without sound. Captions aren’t optional anymore; they’re how the message lands at all.
- Keep them readable. Large, high-contrast text with a clear typeface beats anything fancy.
- Time them tightly. Words should appear in sync with the speech, not lag behind.
- Don’t cover faces or key visuals. Place captions in the lower third or wherever the frame is clear.
Auto-caption tools get you most of the way, but always proofread — they routinely mangle names, Singlish and brand terms.
Editing for the platform, not in general
The same footage should be cut differently for different homes. A 16:9 YouTube edit can breathe; a 9:16 TikTok or Reels edit needs to be punchier and reframed for vertical. Plan your edits around where the video will live rather than exporting one master and hoping it works everywhere. This is also where good video production planning pays off — shooting with the final formats in mind makes editing far easier.
A quick platform checklist
- Hook in the first 3 seconds for social; a little more runway is fine on YouTube.
- Reframe for vertical rather than letterboxing a horizontal clip.
- End with a clear next step — a CTA, a follow prompt, or a link.
Build a repeatable workflow
Professional-looking output comes from a consistent process, not flashes of inspiration. A simple order of operations keeps your edits clean: assemble the story, lock the pacing, fix audio, then colour, then captions and graphics, then export. Doing colour before the cut is locked, for example, just creates rework. If you’d rather hand off the whole pipeline, our team handles editing as part of full videography projects.
Use graphics and transitions with restraint
New editors reach for flashy transitions to look professional, but the opposite is true — spinning wipes and zoom effects usually read as amateur. Professional editing leans on the simplest cut that works, and adds motion only when it serves the story.
- Default to a hard cut. A straight cut is invisible and lets the content carry the moment.
- Use a cross-dissolve to show time passing — not as decoration on every edit point.
- Keep lower-thirds and titles consistent. One typeface, one colour palette, one style throughout. Consistency reads as polish.
- Match graphics to the brand. If your video lives next to your other content, the fonts and colours should agree.
A reliable test: if a transition draws attention to itself rather than the content, cut it. The best editing is often the editing you don’t notice.
Frequently asked questions
What video editing software should I start with?
For most teams, the choice of tool matters less than the habits. Capable free and affordable options exist on both desktop and mobile, and they all do the fundamentals — cutting, audio levelling and captions. Pick one, learn it well, and focus on pacing and sound rather than chasing features.
How long does it take to edit a video?
It varies enormously with the footage and the format. A short, simple social clip might take an hour or two, while a polished multi-camera piece with graphics can take days. A useful rule of thumb is that editing usually takes several times longer than filming.
Why does my footage look amateur even after editing?
Usually it’s one of three things: pacing that’s too slow, inconsistent audio levels, or mismatched colour between shots. Fix those three before reaching for effects or transitions, which rarely solve the underlying problem.
Want polished video without the editing headache? Tell us about your project and we’ll handle it end to end.