Interior photography sells spaces — a café’s vibe, an office that helps recruit talent, a renovated condo that wins the designer their next client, a co-working floor that fills its desks. It looks simple until you try it, and then the mixed lighting, the tight HDB rooms and the wonky vertical lines reveal why interiors are one of the more technical genres. This guide covers how we approach interior photography in Singapore and what makes a space photograph well.
What good interior photography is actually doing
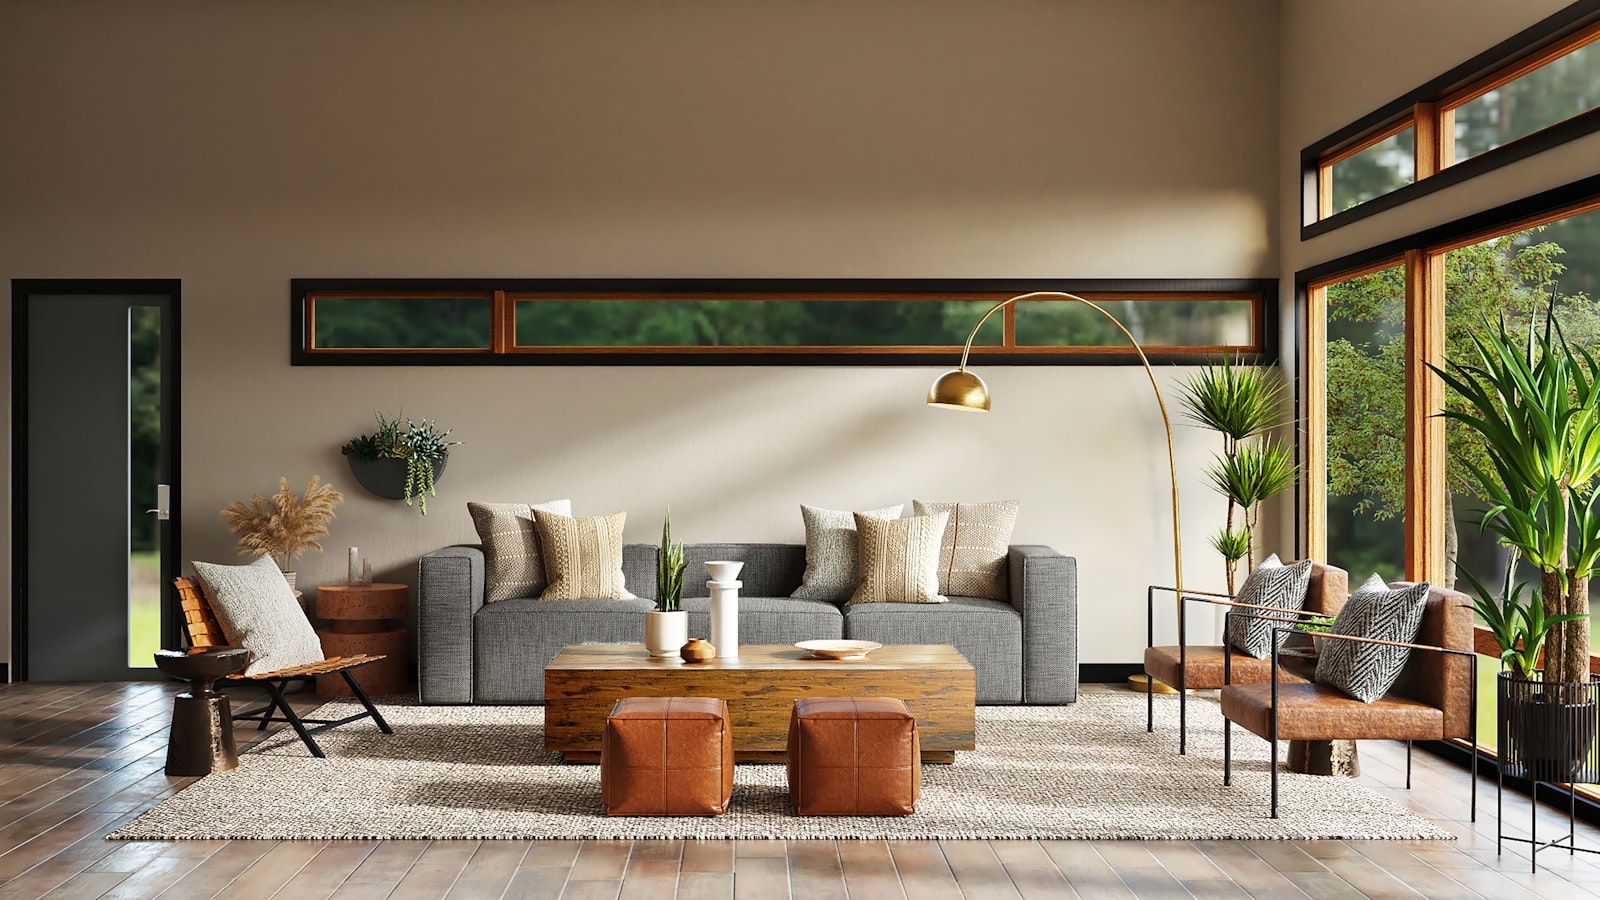
An interior photo has to do two things at once: represent the space accurately and make it feel aspirational. Get the balance wrong in either direction and it fails — too literal and it looks like a property listing snap; too stylised and clients arrive disappointed that the real place looks nothing like the photo. The job is to show the space at its honest best: correct proportions, true colours, clean light, and a sense of how it feels to be there.
Who needs it shapes the approach. Interior designers and ID firms want hero shots that showcase craftsmanship and material detail. F&B operators want atmosphere that drives bookings. Property and serviced-office operators want clarity and scale. Hotels want desire. We shoot to the brief, not to a generic “nice room” template.
The lighting problem, and how we solve it
Interiors are where lighting gets genuinely hard, because almost every Singapore space mixes light sources: cool daylight through the window, warm tungsten downlights, greenish fluorescents in the back, and an LED strip under the cabinet — all in one frame, each a different colour. Shoot it flat and you get muddy colour casts and either blown windows or black corners.
We handle this with controlled exposure and, where needed, blending multiple frames so the window view, the shadows and the highlights are all properly exposed in the final image. We manage colour temperature deliberately rather than letting the camera average it into mush. The result is a room that looks clean, bright and true — the way your eye saw it, not the way a phone camera flattens it.
Lenses, tripod and the discipline of straight lines
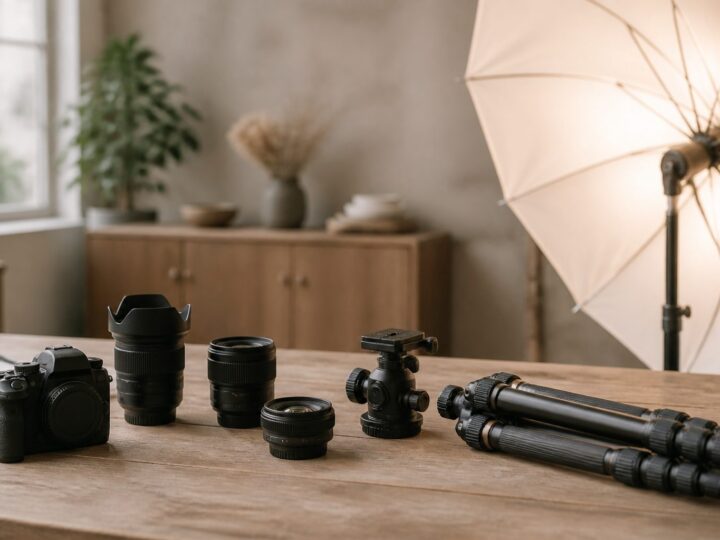
Interiors live and die on straight verticals. A slightly tilted camera makes walls lean in and the whole image feel off, even to people who cannot say why. We shoot on a tripod, keep the camera level, and use wide lenses that capture the room without the cartoonish distortion that ultra-wide phone shots produce. Tight HDB and condo rooms need width, but over-widening makes a space look unnaturally cavernous and then disappointing in person — so we choose a focal length that shows scale honestly.
Styling: the unglamorous secret of great interiors
The biggest difference between an amateur and a professional interior shot is usually styling, not gear. Before a single frame, the space needs to be edited:
- Clear clutter — cables, bins, stray chairs, fire extinguishers, exit signage where possible.
- Straighten and align — cushions, chairs, table settings, anything parallel to walls.
- Add life — fresh flowers, a styled coffee table, a place setting, a laptop open on a desk, so the room feels lived-in rather than empty.
- Dress the details — the corners and surfaces that read as “designed”.
We either style on set ourselves or work alongside the designer’s stylist. Either way, this prep is where the polish comes from, and it is the same care we bring across our photography and content work.
Wide shots, vignettes and the shot list
A usable interior set is more than wide room shots. We plan a layered shot list: the establishing wide that shows the whole space and flow, mid-range angles that frame key zones, and tight detail vignettes — the tap, the joinery, the material texture, the menu on the table. Designers especially need those details to show craftsmanship, and marketers need the verticals for social and the horizontals for websites and listings. You can see how that mix builds a complete story across our portfolio.
Timing the shoot around natural light
Light changes through the day, and so does a room. A west-facing café glows in the late afternoon and looks flat at noon. We scout or ask about window orientation and plan the shoot for when each space looks best — sometimes splitting a shoot across a day to catch each room in its good light. For exteriors and shopfronts, dusk’s blue-hour balance between sky and interior glow is often the most flattering window of all.
Frequently asked questions
Do we need to prepare the space before the shoot?
Yes, and it matters enormously. A deep clean, decluttering, and having styling elements ready (flowers, props, settings) is the single biggest thing you can do to improve the results. We will send a prep checklist and can bring or arrange styling where needed.
How long does an interior shoot take?
It depends on the number of rooms and the level of styling. A single café or small office can often be done in a few hours; a full home, showroom or hotel with many spaces and detail vignettes may need most of a day, partly to catch each room in its best light.
Why do my phone photos of the space look bad?
Phones over-widen rooms, blow out windows, and cannot balance the mixed warm-and-cool lighting that interiors always have. Professional interior photography fixes the verticals, balances the exposure across windows and shadows, and corrects colour so the space looks the way it actually feels.
Can you shoot occupied, working spaces?
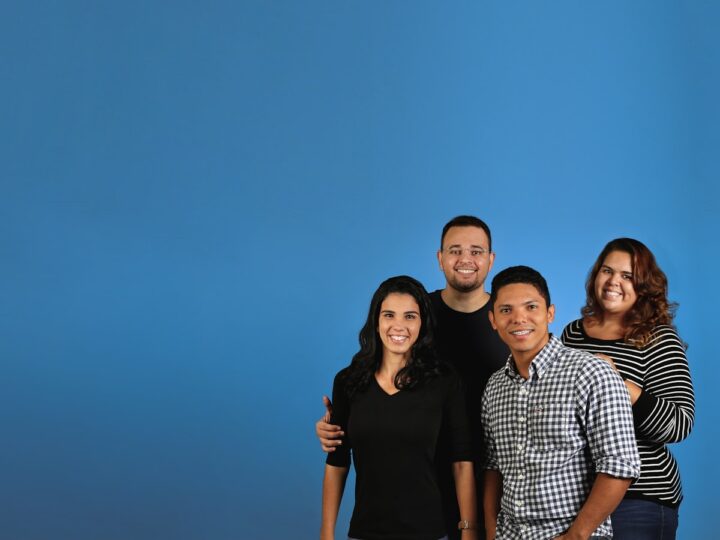
Yes. For offices, F&B and co-working spaces we can shoot around operations or before opening hours, and we can include staff and customers (with consent) to add life, or keep the space clean and empty for a more architectural look.
Have a space worth showing off? Tell us about it and we will plan the shoot.